I spent 27 days on the road, and didn’t even power my PC up until the day after I got back. This means that 1) it’s 28 days later, and 2) I’m glad it’s not the movie kind of 28 days later.
I have a full month of stories to tell. Some of them are hilarious, some are triumphant, and a few are really complainy and kvetchy. None of them are being told here, however, because I’m tired. I will, however, provide a few titles:
Low Clearance But We Made It… Twice
The Palace is Boring Now That I Know It’s a Replacement
I See You Wrapped it in Bacon
“You Are Spy”: the Tale of the Writer and the Submarine
There Must Be a Ley Line Here
I Bet Walt Took Pictures
Oh BarCon, Where Art Thou?
I Promised Myself I Wouldn’t Do This
Maybe I’ll Let Somebody Else Say It For Me
Oh Laundry, Where Art Thou?
Rabidly, Ravenously Committing to a Joke
Who Cares I Bet The Moon Will Do This Again Eventually
Should we meet in person, I might share one of these stories with you. Where appropriate, I might relate one of these stories while I’m on a panel at Salt Lake Comic Con.
Now, however, I need to go make up some stories and draw pictures for them. It’s been four weeks since I got any actual work done.
We’ve got stacks of Planet Mercenary materials*, including the core book, the Game Chief’s screen, the Mayhem Deck, sets of RiPP tokens and dice, and Seventy Maxims of Maximally Effective Mercenaries.
We’ll also have the Game Chief’s Handbrain game screen*, a high-quality ABS plastic product that you simply must come and see.
Panels Where You Can Find Me Talking
Sounds enticing, yes? Here’s my panel schedule:
THURSDAY
6pm, Congress 1 — Reading (Howard reads his writing to you)
7pm, Capital 1 — How to Find Your Voice (panel discussion)
FRIDAY
6pm, Chamber — Writing Excuses records live
SATURDAY
12pm – 2pm, ICC Ballroom Main Stage — THE GAMERS: LIVE – ATTACK OF THE MUTANTS FROM PLANET X (I don’t actually know what I’m doing on stage, but I’m going to be doing my best at it.)
3pm, Capital 1 — Writers Cage Fight
(*Note: If you’re a Planet Mercenary backer and/or a Handbrain backer, your merchandise is shipping now, so we can’t do convention pickups for you.)
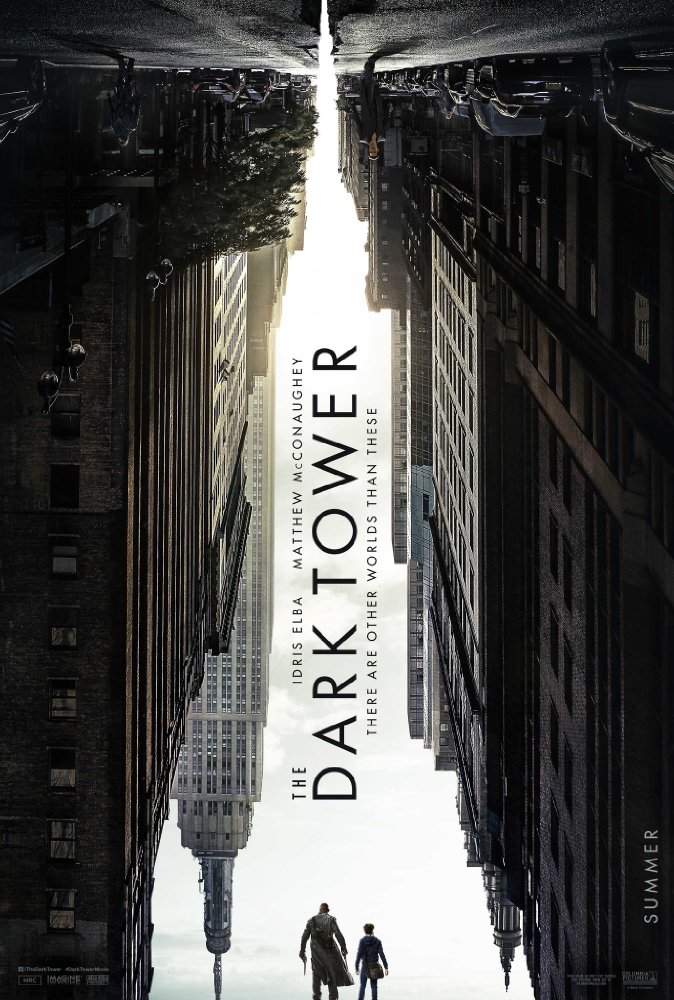
The Dark Tower took a little while deciding what kind of movie it wanted to be, but I enjoyed it. It’s not my favorite Idris Elba movie, and it’s not my favorite Stephen King movie, and it doesn’t clear my Threshold of Awesome, but I enjoyed it.
I don’t have much emotional attachment to the novels, so the film’s departures from the text didn’t bug me. I did have a burning desire to get out of my hotel room to see a movie, so that may have artificially inflated the film’s joy factor a bit.
The weakest aspect of the film surrounded the parts that were the coolest to watch: when the Gunslinger is doing supernaturally awesome things with his .45 revolvers it’s just eye candy. There’s no emotional connection between him and the viewer. The stakes are high, but it’s difficult to really care. Had I cared more, the film would have been more enjoyable. Probably not Threshold of Awesome enjoyable, but still better.
I’m in Helsinki at WorldCon 75, and today is my last day here. The final leg of my 27-day tour begins on Sunday morning when I fly to Indianapolis in preparation for GenCon Indy.
This trip has been wonderful, and if it’s been difficult it’s also been an opportunity to remember that I can do difficult things. The familiar path rarely leads to new places, and the easy path isn’t the one with the XP containers on it.